Inhaltsverzeichnis
Quick selection
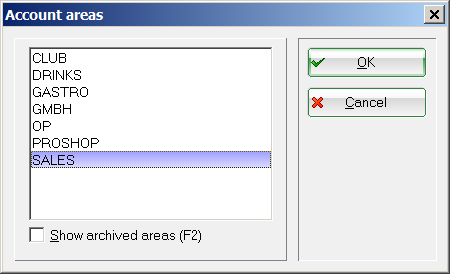
The quick selection can only be created for one cash register account area. To do this, first select in the selection e.g. SALES, PROSHOP or GASTRO in the selection. For a contribution account area (CLUB), the quick selection cannot be configured.
Configure quick selection
You can access the quick selection via System/Checkout/Quick selection. As soon as this has been created, you can also access it via the magic wand at the top right of the checkout.![]()
Here you have the option of configuring particularly fast working in the cash register.
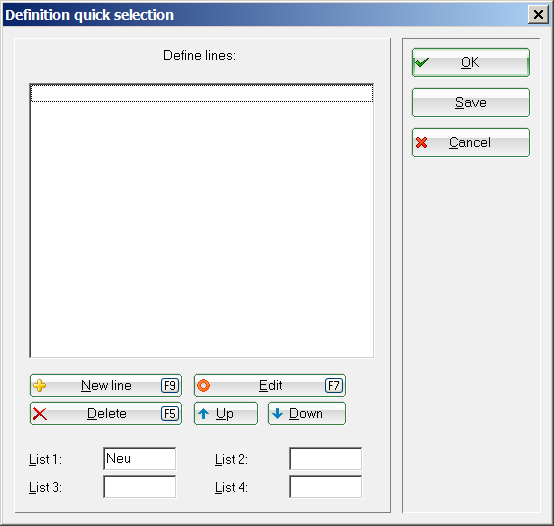
Click on Configure shortcut keys (F7). The following window opens:
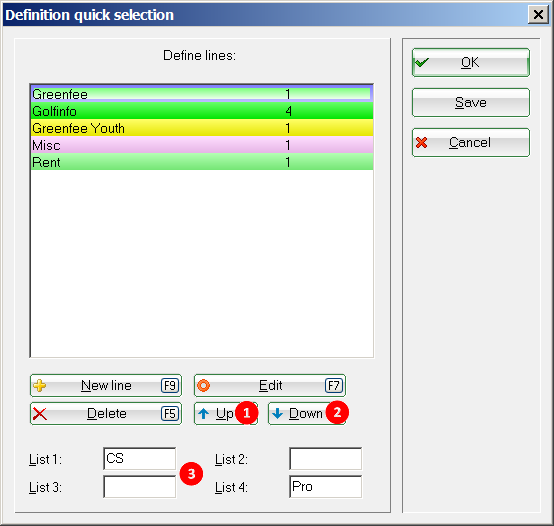
You define a new line by clicking on New line (F9). Assign a new title for the selection line. For a better overview, you can also select a colour. It is better to choose subtle colours so that the font is still easy to read. Add the desired articles by clicking New article (F9) and selecting the items from the selection list.

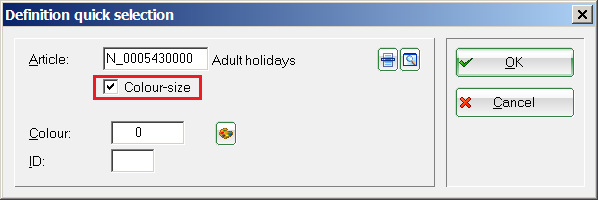
Tick the box next to Colour-size selection, This means that you can also select the sub-items later in the checkout.
Now define the list in which the items are to be displayed. There are 4 lists to choose from. This gives you a better overview. For example, you can create a list with the green fees, a second with pro shop items and a third can be used for small items from the bistro, which are sold at the reception counter. Of course, it is also possible to display an item in more than one list: please tick the appropriate boxes several times.
Distribute the articles in the lines created. It is possible, for example, to enter a token in the rental item line as well as in the green fees line. This makes your work in the cash register easier.
The arrows are very practical Up (1) Down (2). You can use these to move an item up or down in the selection bar. To do this, select an item, click on it and then go to the Up or Down.

Active application in the cash register
You will find the defined lists (1) in the cash register. If you still want to make changes, you can do so quickly using the magic wand (2) to access the function selection. Please click here Cash register settings and then click on Edit quick selection (F2).
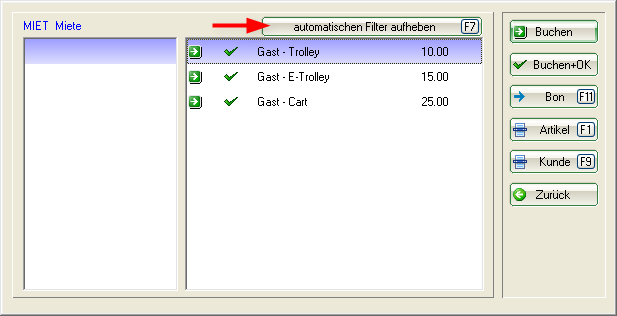
Click on Customer F9 and select a customer. The cursor automatically jumps to the item selection. Enter a point here, PC CADDIE jumps to the quick selection. The lines are displayed on the left-hand side and the corresponding items on the right-hand side. Active lines are surrounded by a blue border.
You can use the arrow keys up and down on the keyboard to switch from green fee to buffet money. Use the left or right buttons to go to the item selection, here you can also use the buttons to change items. Items preceded by an arrow in a square can be booked directly. Items preceded by an arrow in a circle have a further selection, the sub-items. Once you have selected the correct main item, you can confirm with Enter. The article selection then opens here.
Use the arrow keys on the keyboard to select the correct item and confirm with Enter. You can use the keyboard to process all transactions in the cash register; the mouse is no longer required.
| Arrow up | Move cursor up |
|---|---|
| Down arrow | Move cursor down |
| Arrow right | Move cursor to the right |
| Arrow left | Move cursor left |
| Book | Enter |
| F11 | Receipt |
| F12 | Numbers |
| F1 | Search article |
| F9 | Search for new customer |
| Done | Enter |
| Cancel | Escape |

Copy quick selection to another checkout
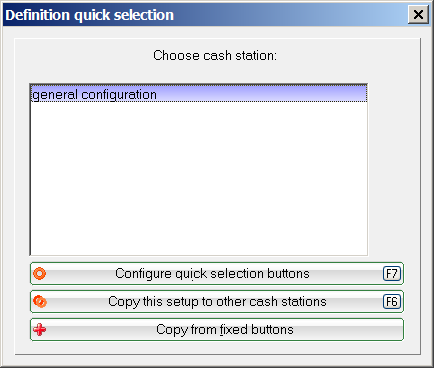
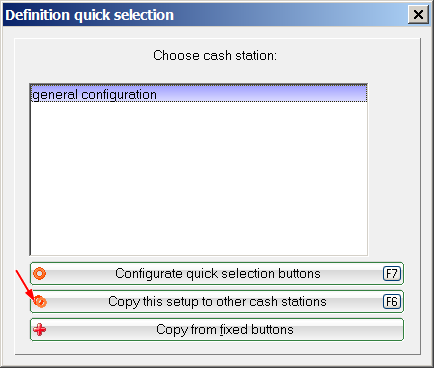
Under System/Checkout/Quick selection you will see the following window:
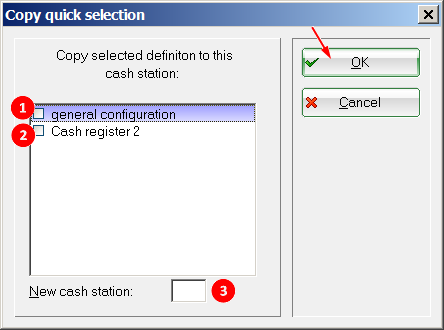
If you click on Copy settings to other cash registers the following window opens:
Here you have the option of (1) making a general configuration for all cash registers, or (2) sending the copy to a selected cash register, or also selecting a new cash register under (3). Then confirm with OK.
